Help
If you haven't figured it out already, here's how you create a chord chart and then save it as a PNG or SVG image. Don't worry, it's super simple!
ChordPic has 3 main sections: The Editor, the Result and the Download and Share section.
As the name suggests, in the editor section you edit you chord chart. Every change of the chord chart is done in this section! More on this section later.
In the Result section you can see a preview of your chord chart.
The download and share section allows you to download your chart in different formats and sharing the charts on different platforms.
The Editor
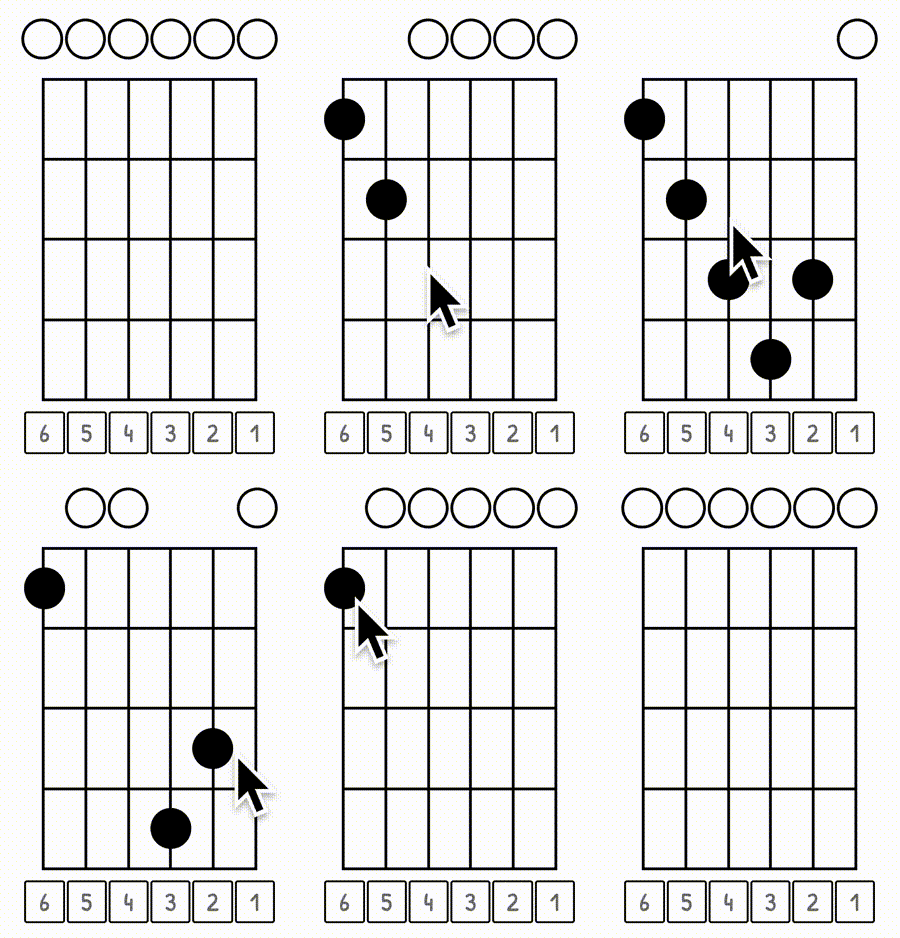
Adding / removing fingers: Simply click anywhere you want the finger to appear. To remove the finger, just click on it again and it will disappear.
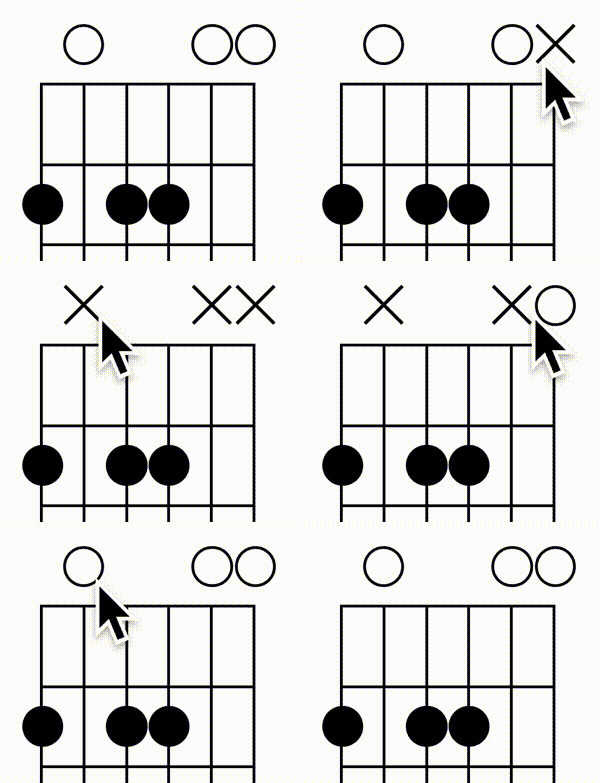
Toggling silent or open strings: If there is no finger on a string, an 'O' automatically appears above the string (open string). If you want to change that to an 'X' (don't play that string) simply click on the 'O' to make it an 'X'. When you click it again it will change back to an 'O'.
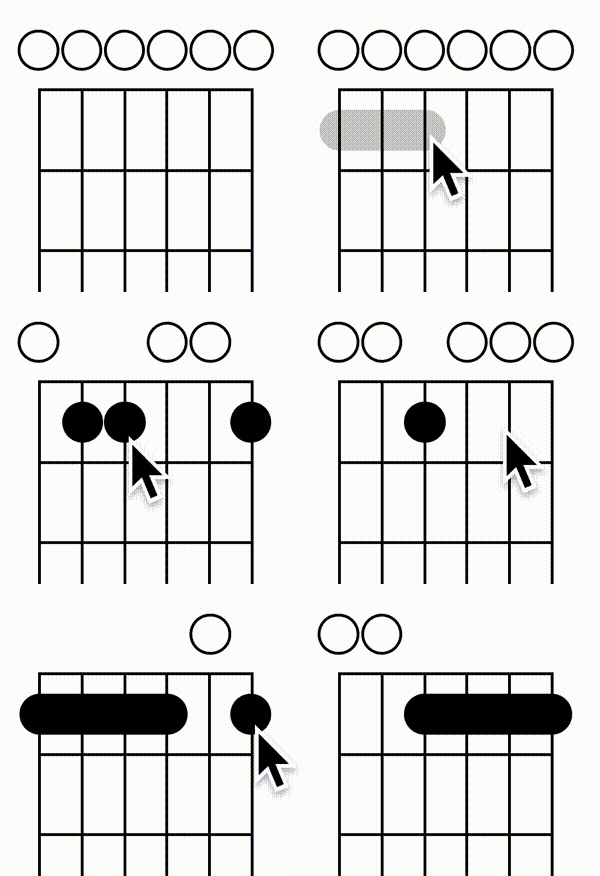
Adding a barre chord: To add a barre chord, you can simply connect the strings with the mouse or if you're on mobile you can swipe from one string to another with your finger. To remove the bare chord simply click anywhere on the fret with the barre chord to remove it.
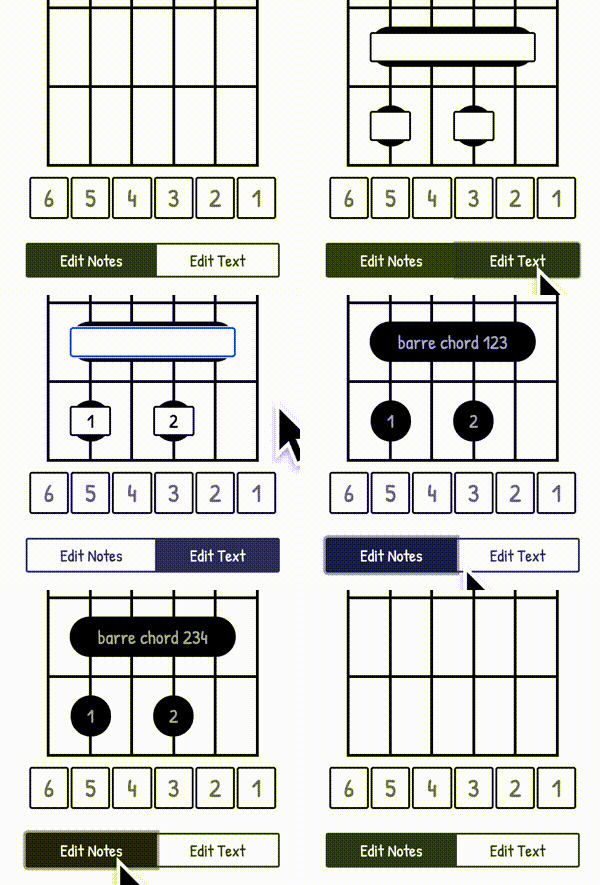
Adding labels to fingers and barre chords: To add text to any finger or barre chords, first click the "Edit Text" button at the bottom of the editor to reveal a text field on top of each finger and barre chord. You can now simply add or edit any text on each finger or barre chord. When you're done you can click on the "Edit Notes" button to continue editing the notes.
Changing colors of fingers and barre chords: Changing colors of fingers and barre chords works just like editing text. After you added your fingers and barre chords click on the "Edit Colors" button at the bottom of the editor section. After that, click on any finger or barre chord to reveal a color picker where you can pick your desired color.
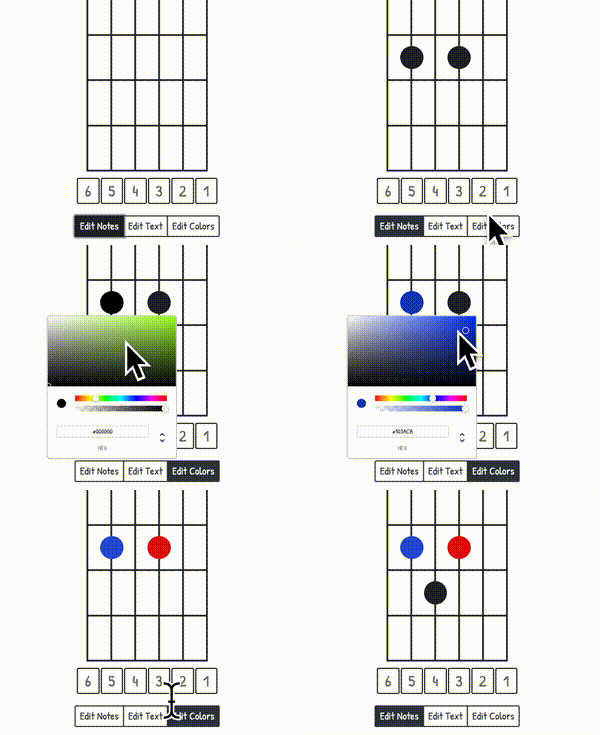
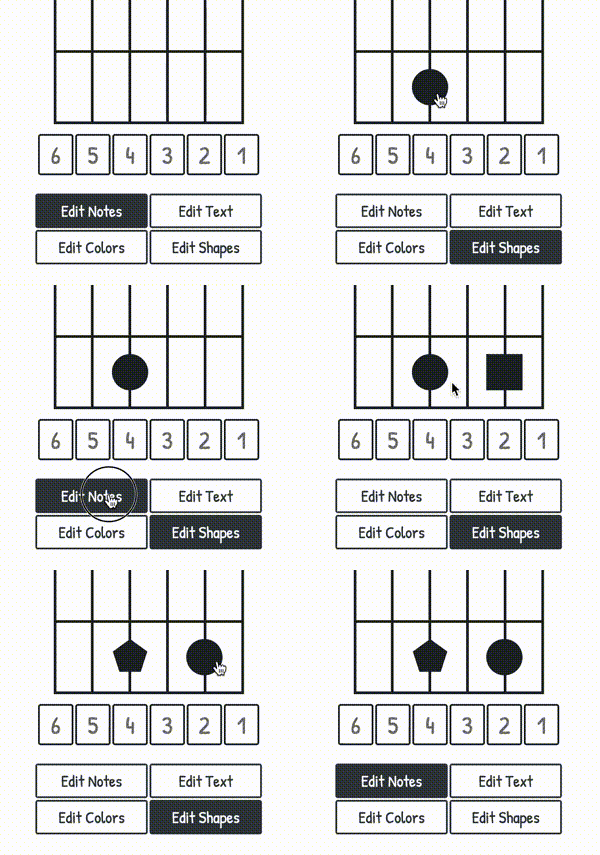
Changing the shapes of fingers: After you added your fingers to the fret board click the "Edit Shapes" button at the bottom of the editor section. After that, click on any finger to change its shape. To revert the shape to a circle, keep clicking the finger until the shape is a circle again.
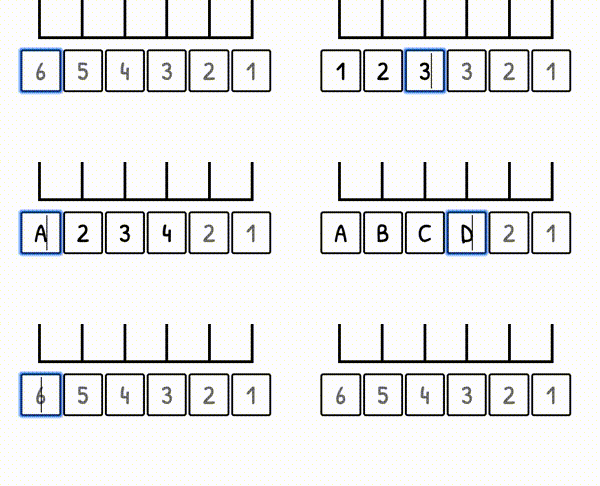
Adding labels to strings: To label the strings you can enter any letters or numbers below the strings. By default the strings are not labelled.
The Result Section
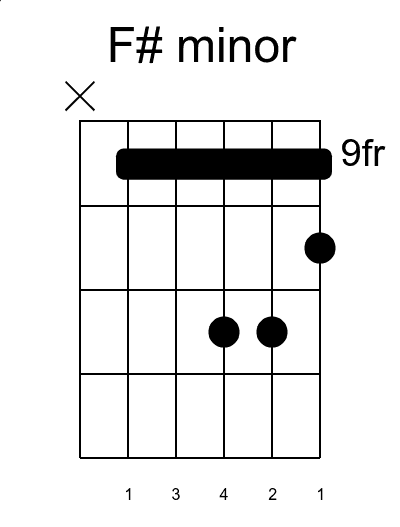
The result section gives you a preview of what your chart image will look like. All changes made in the editor section are immediately visible in the result section. Sample chart:
The Download & Sharing Section
In the download section you can download your chord chart as an image. You can export the image as an SVG or PNG image. When you download a PNG image, you have to chose between different resolutions. The height of the images can vary and depend on what your chart looks like. The width will always stay the same though, no matter what your chart looks like.
In the share section you can generate a link that you can share with other people. All your settings and the whole chart are saved in that link. The sharing section also allows you to share your charts on many different platforms or messengers.